I finally brought out my sewing machine to actually sew a complete project. I went shopping last weekend with some friends, and got the tan sweater I’m wearing in the above photo. If you look at my most recent post, you can see me wearing it with a navy and coral scarf. It was the only scarf that I have that went with it at all. While we were shopping, I tried it on with a navy blue scarf, and really loved the combination of the colors. I’ve had this blue, white, and purple floral fabric from JoAnn Fabrics for awhile. I had intended to make a dress out of it, but I decided that it was far more likely for me to start and finish a scarf rather than a dress, so I cut into it. I believe it is a linen-like fabric, but I’m not really sure. Since it was a relatively easy project and I know a lot of people love infinity scarves (I love them!), I figured I’d share my method.
Step 1:
 Cut your fabric (I recommend using a lighter weight fabric) to 63″ x 22″. This will make one scarf.
Step 2:
 Hem each of the longer sides. Use a rolling hem if you know how to do that (I don’t). Or just fold the fabric under 1/8″ and then fold it over another 1/8″ to enclose the raw edge of the fabric. Sew.
Step 3:
 Pin the shorter sides together WRONG sides together. Sew with a 1/8″ seam allowance. Trim any excess (you want there to be as little as possible).
It should look like this when you are done:
Step 4:
 Turn the scarf inside out, so that RIGHT sides are together. I don’t have an iron with me at college, but I highly recommend ironing the seam you just created. You want the fold where the seam is to be crisp (not like it looks above).
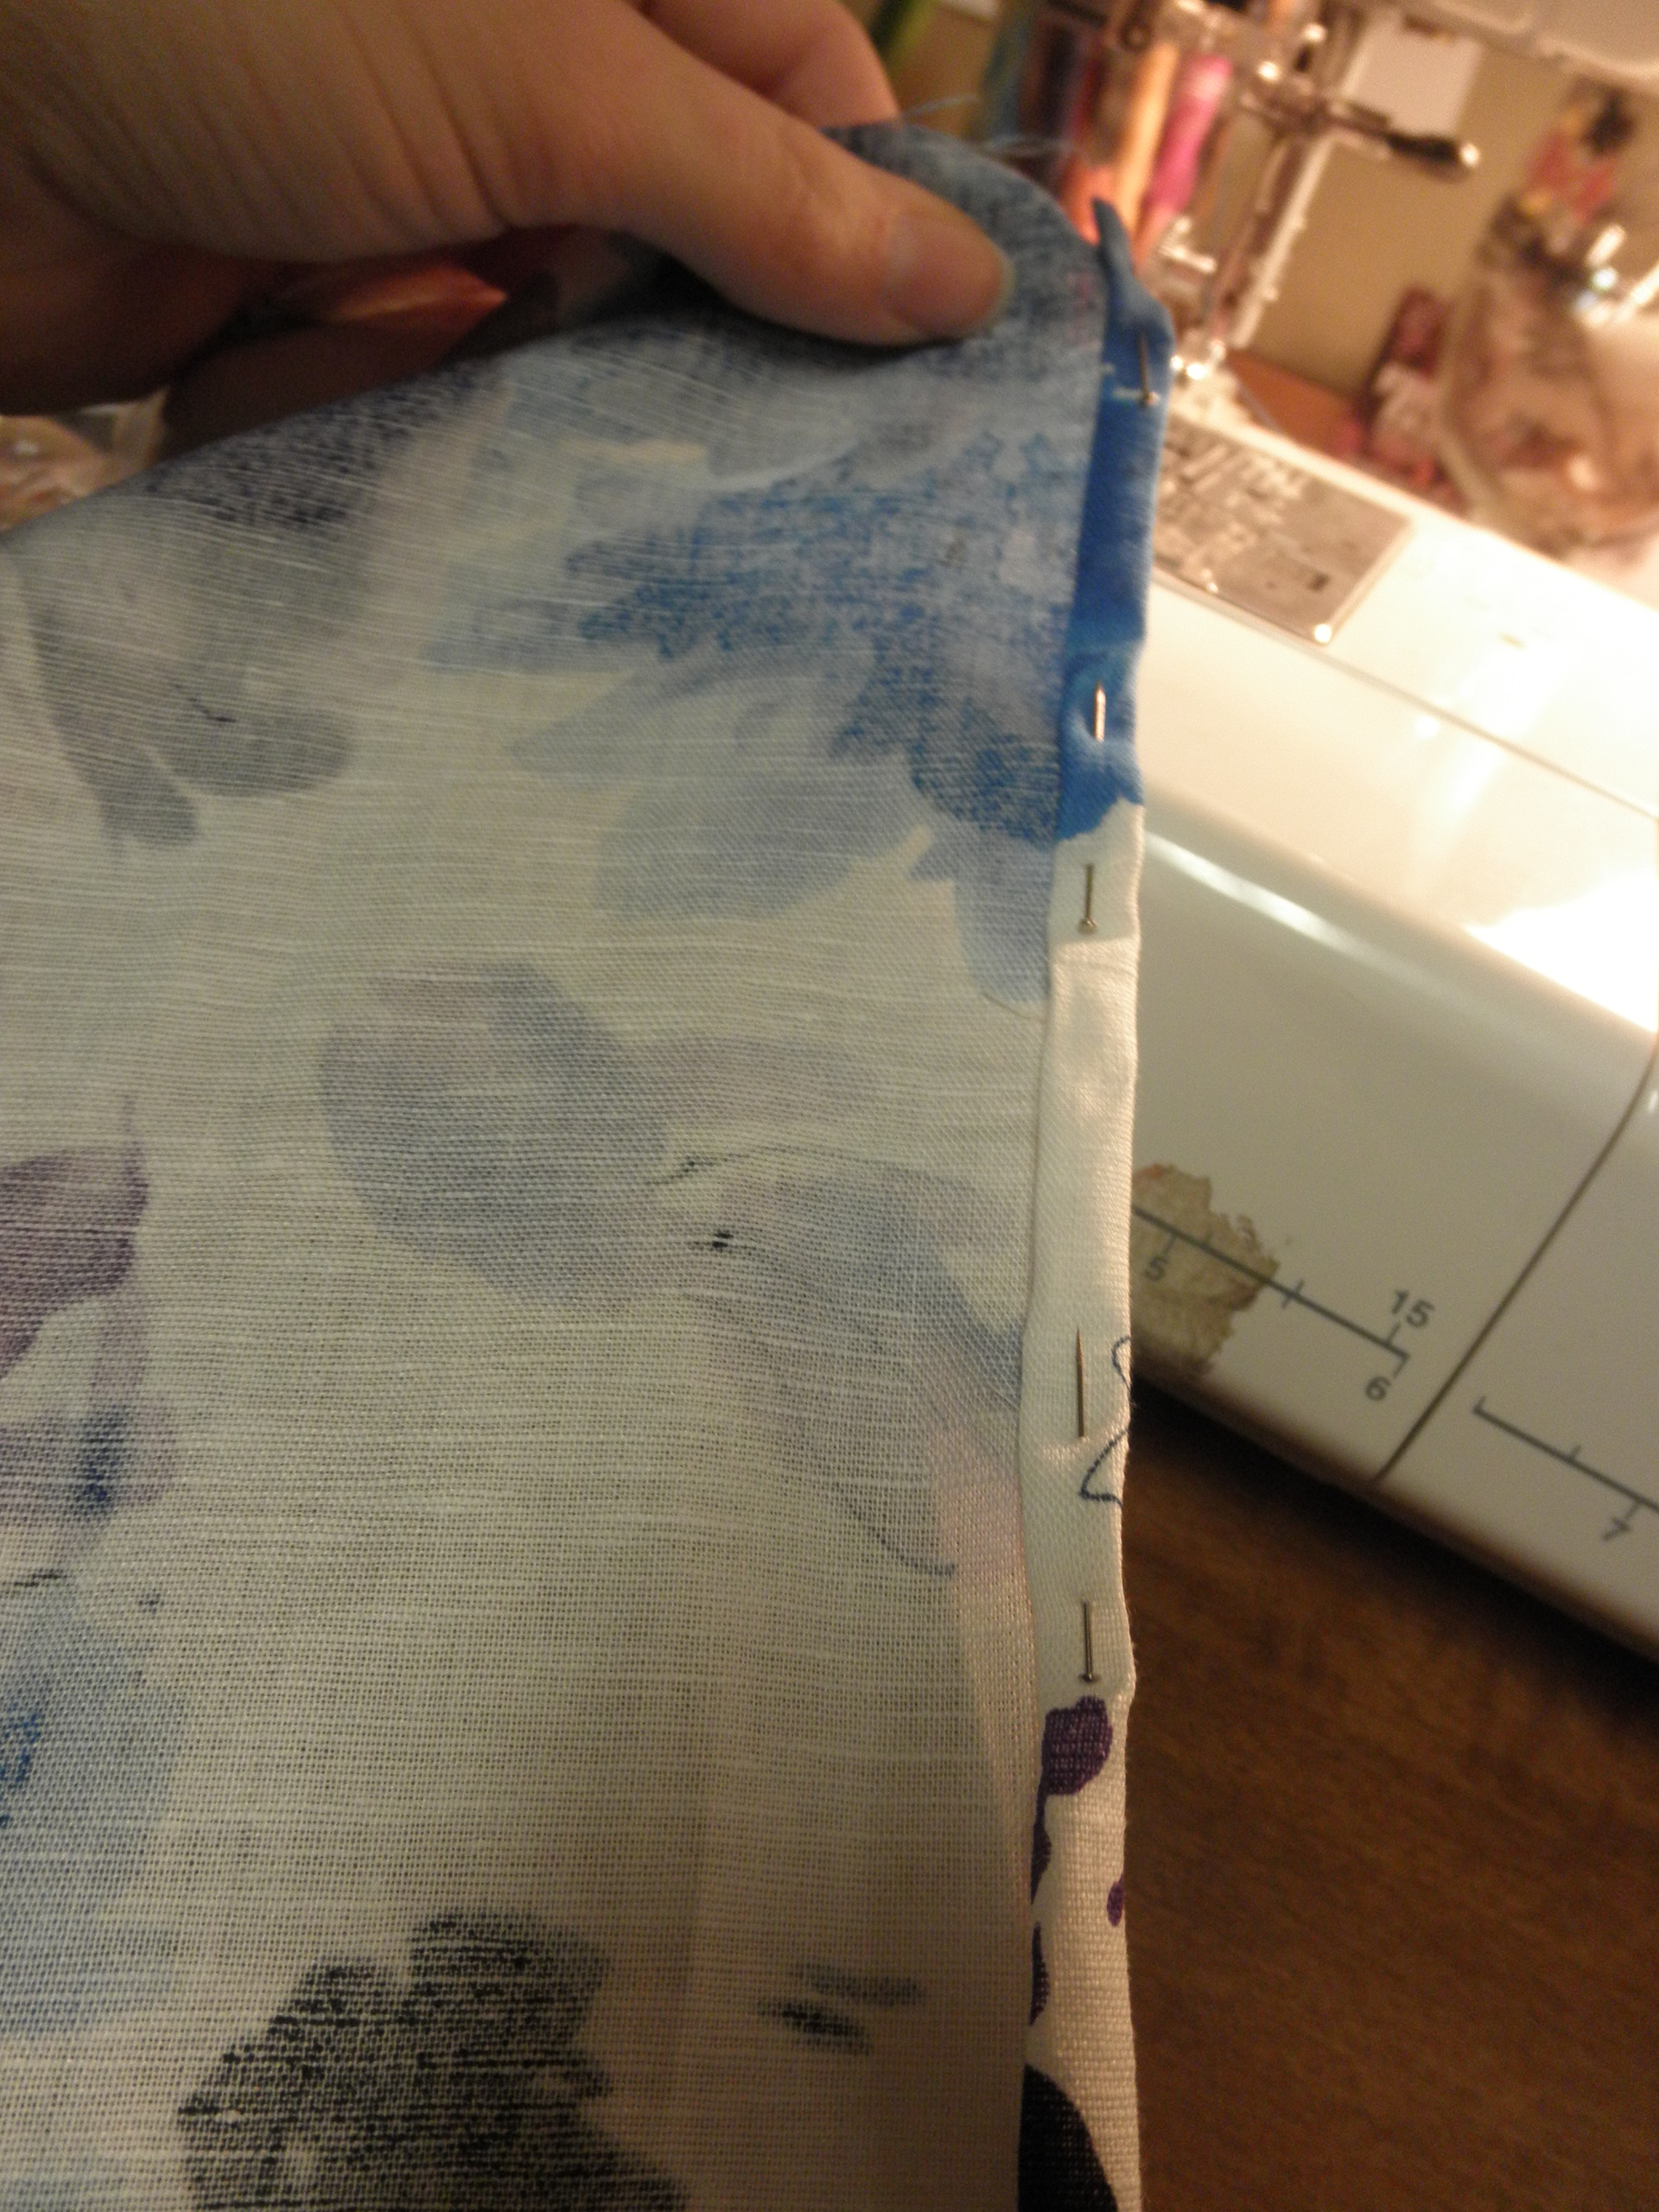
Step 5:
 Pin along the seam you just made, so that any raw edges will be between the seam and your pins. You want all raw edges enclosed, and you also want the new seam you’ll be sewing to be as close to the previous seam as possible.
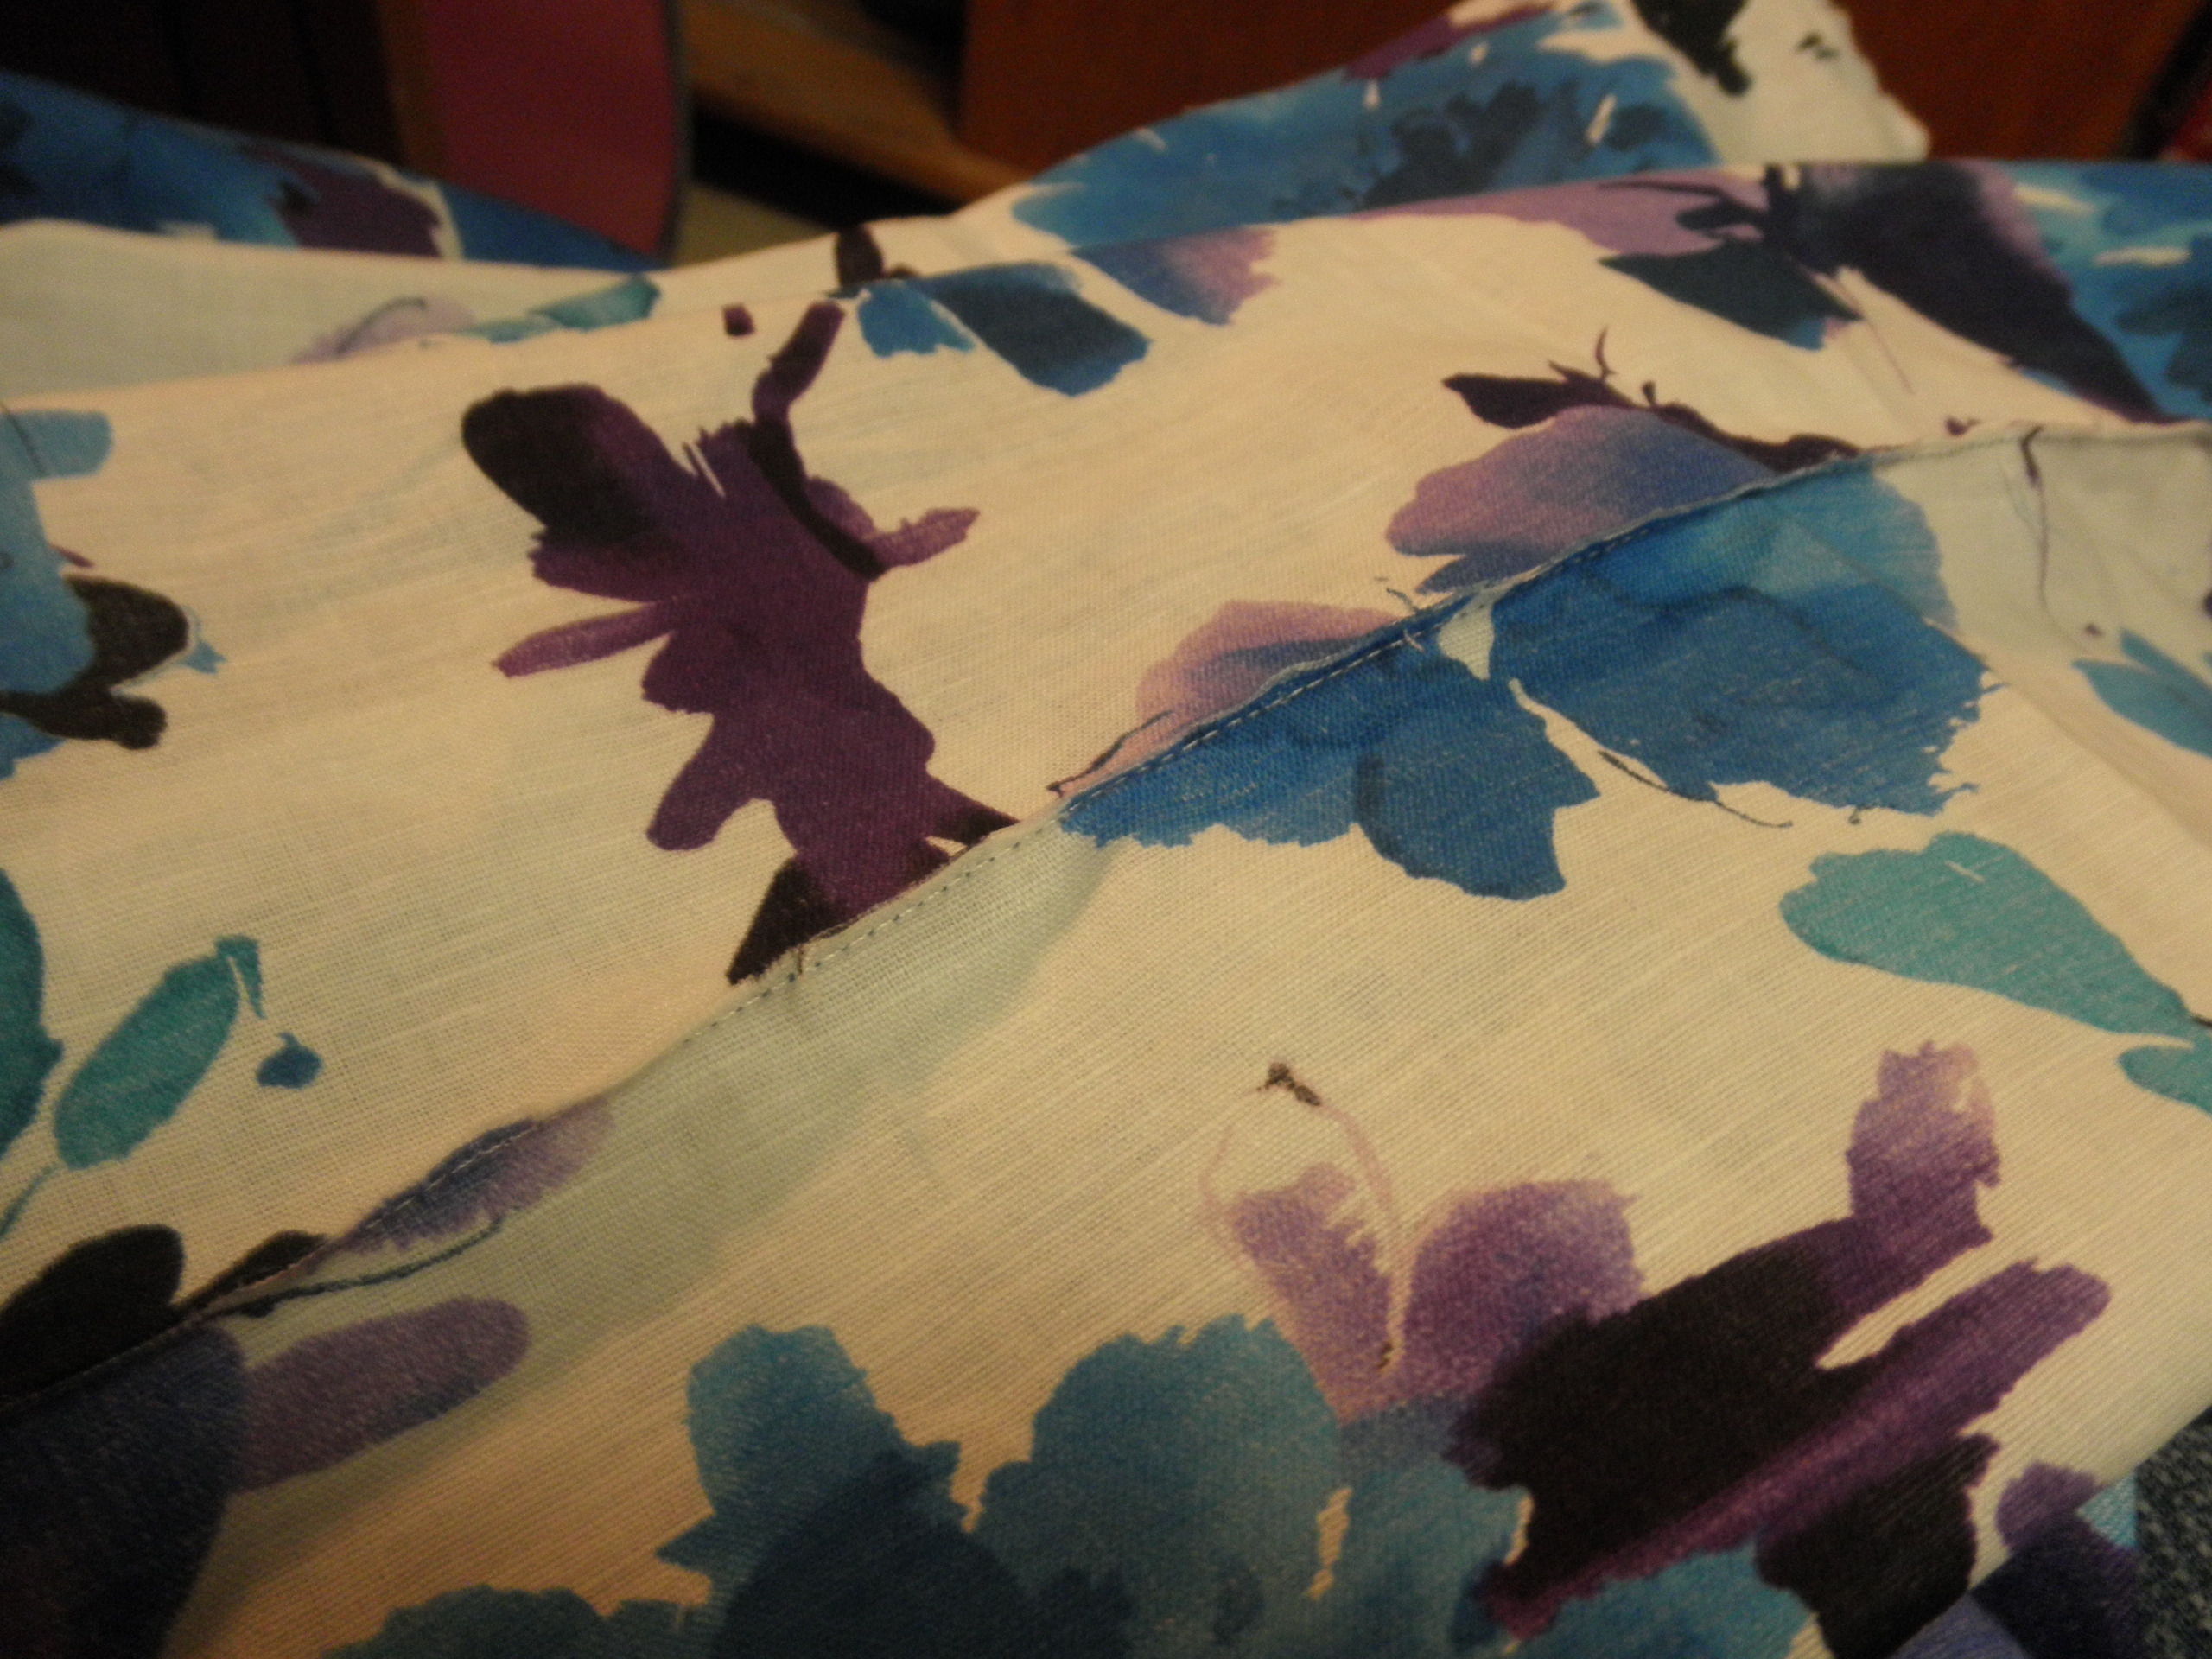
Step 6:
 Sew along where you pinned. It should look like the photo above. There is about a 1/8″ seam allowance, but just try to get as close as possible. When the scarf is turned right side out, this seam should look like the picture below.
 And your scarf is finished! Depending on the weight of the fabric, you may want to make the scarf a bit thinner/longer (for thicker fabrics). I don’t think you’d want to go any wider. I really love the way it turned out!