One of my goals when I started this blog was to post my craft and sewing creations. Occasionally, I do so, but I really haven’t shared much in terms of my sewing, mostly because I haven’t created that much. About a year ago, I posted some pictures of a shirt I had made using one of my brother’s old shirts, but the pictures that I was going to use for the tutorial were on my brother’s camera, so I never got to post the actual tutorial. So I’d thought I’d (finally) share the entire project step-by-step.

My brother is an X-Large in men’s (he’s 6’3″ and is over 200 lbs), so the original shirt was quite large on me. It also had a wide band around the neckhole that I really didn’t like. I took a shirt that I owned and that fit me well, and used that as my template. I was hoping that I would have enough fabric to make my shirt long-sleeved, so I used a long-sleeved shirt as my template, but there didn’t end up being enough fabric for long sleeves.

I just turned both shirts inside out and laid the one I was using as a template on top of the striped shirt, lining up the bottom hems.

I tucked the sleeves in and just cut around the template shirt, adding about 1/4″ all around as I cut (in hindsight, I probably should have left about 1/2″). This gave me the front and back, minus the sleeves.
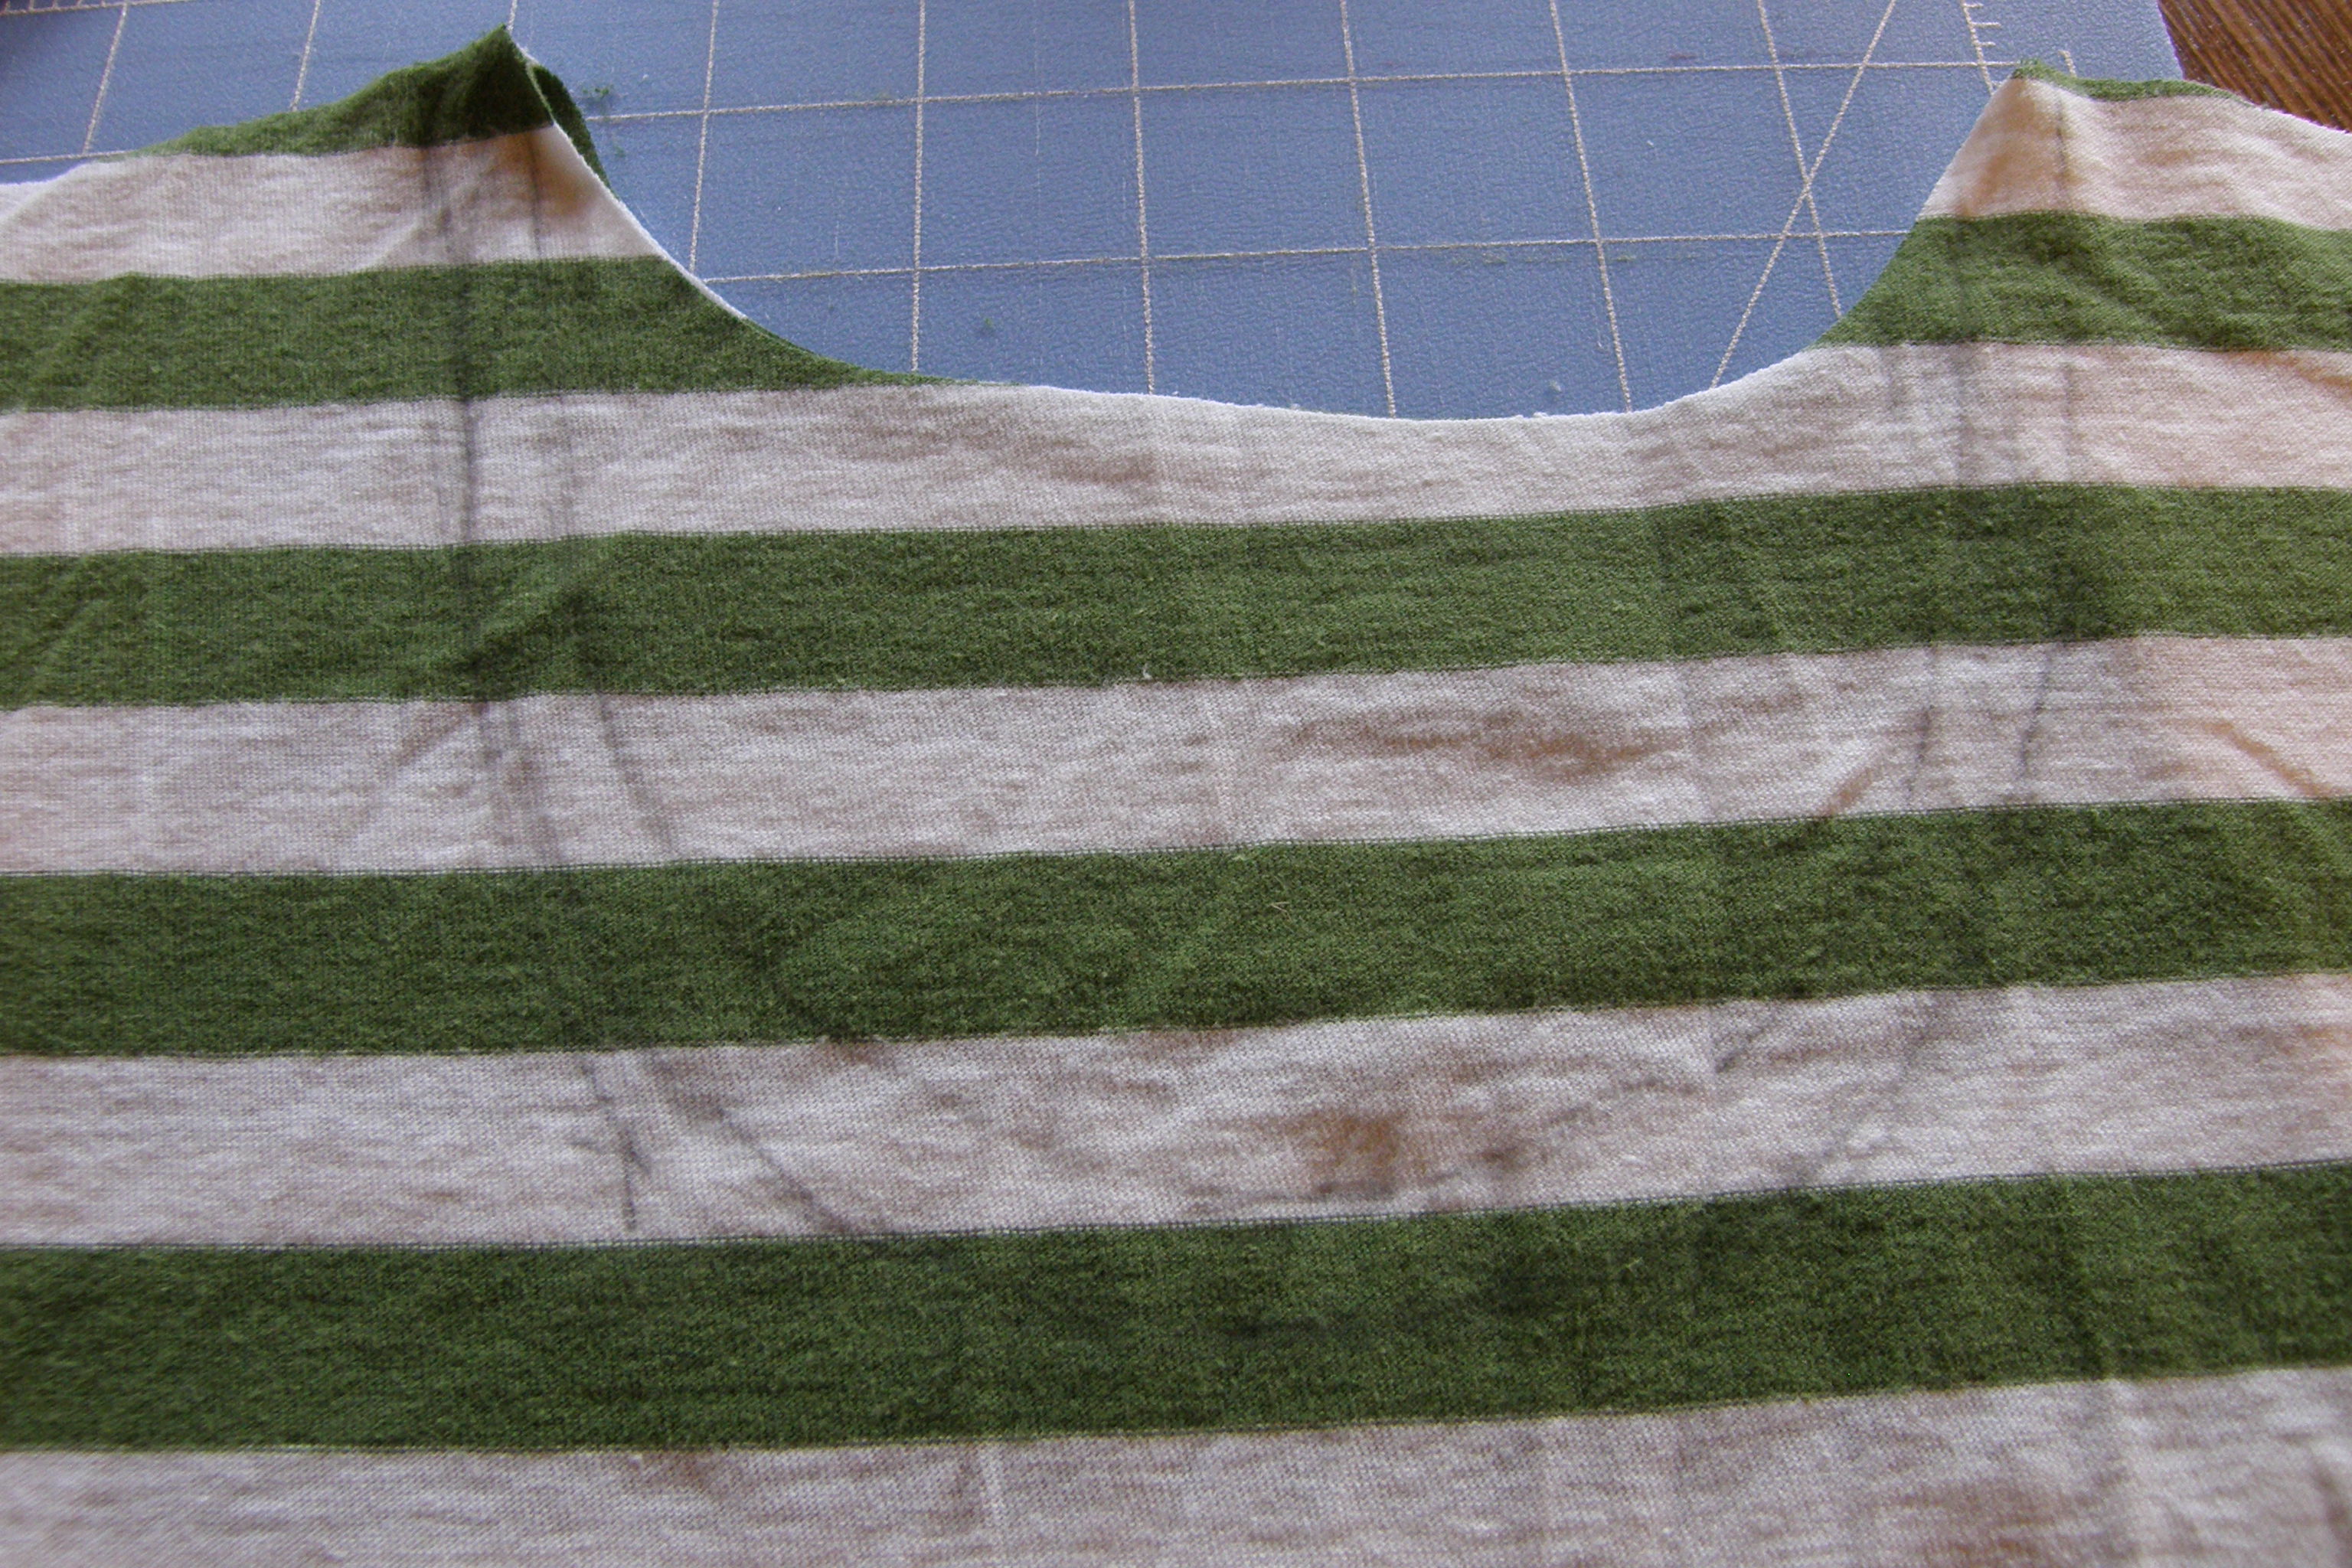
I then took the piece I wanted to use for the front of the shirt and eye-balled where I wanted the neckline to be. The shirt I was using as a template had a higher neckline, but I wanted this one to be a bit lower. Once I had a line I was happy with, I drew another line about 1/4″-1/2″ above the first. This was the line I actually cut on.
I folded the shirt in half length-wise and used my rotary cutter to cut along the higher of the two lines so that the new neckline would be symmetrical.
Putting right sides of the front and back of the shirt together, I pinned the shoulder area together and sewed, using about a 1/4″ seam allowance, then used a zig-zag stitch to finish the seam. I ONLY sewed the top together at this point. Before you can sew the sides together, you need to add your sleeves.
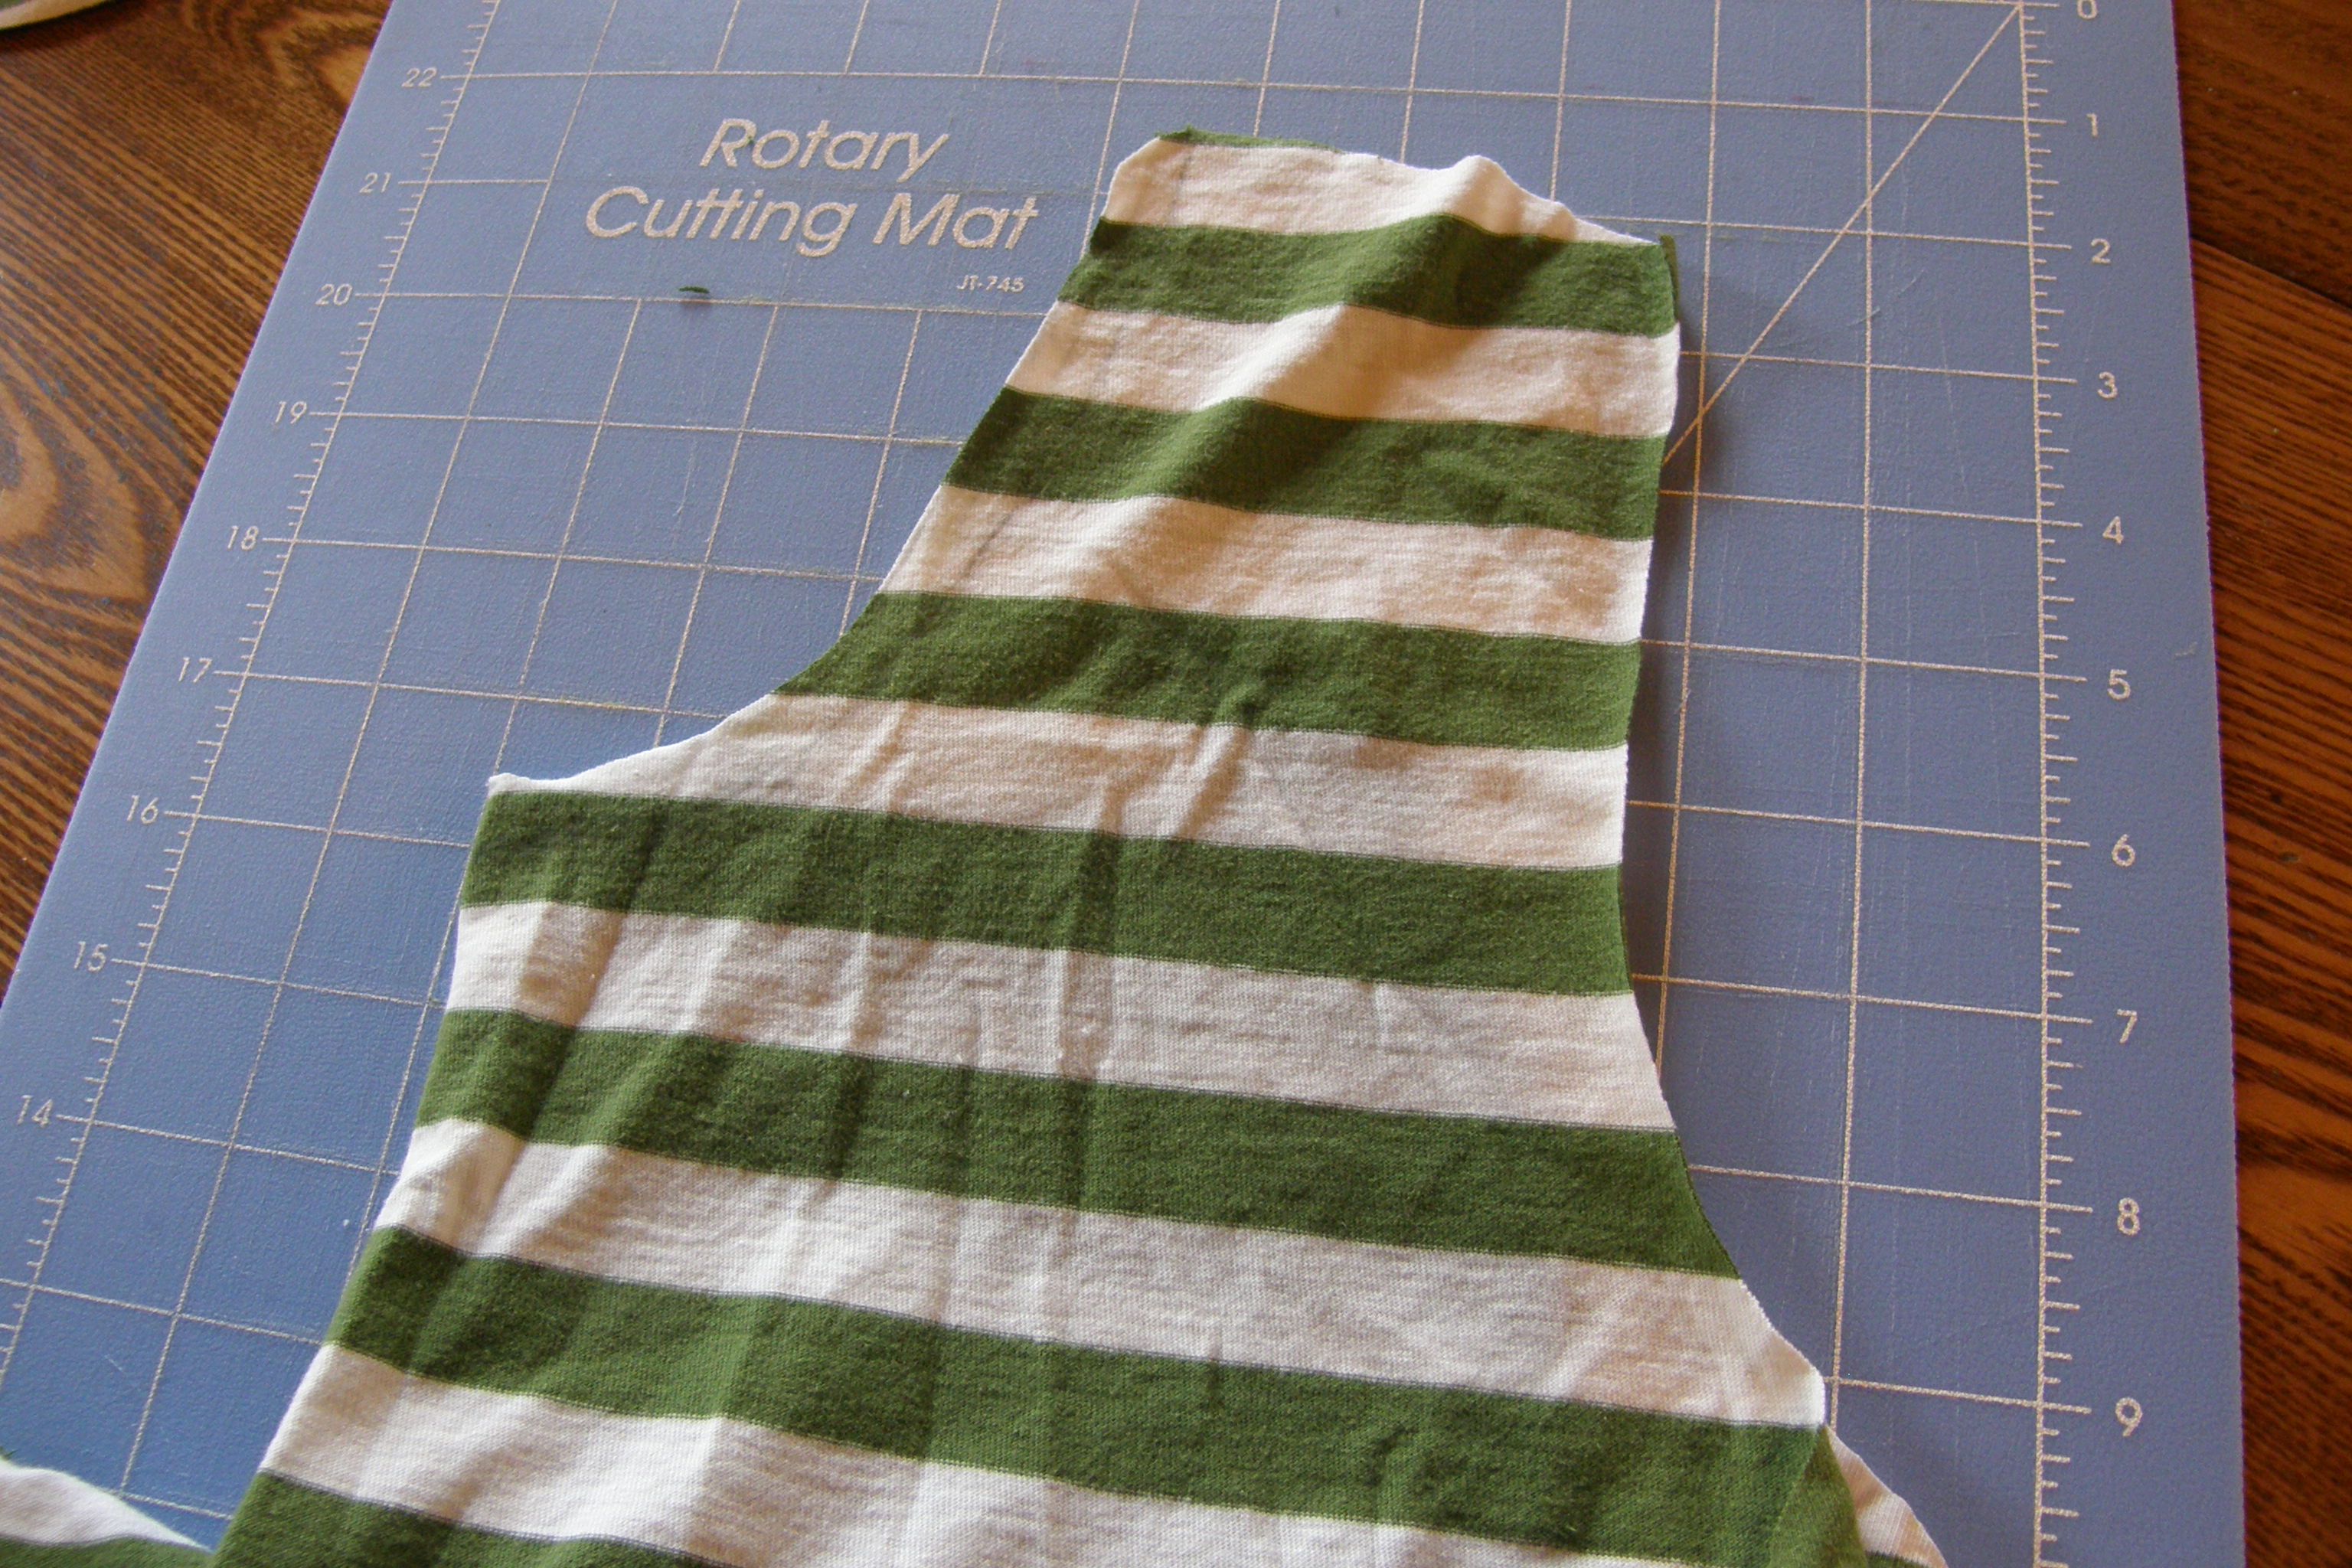
 Next was the sleeves. I inspected some short-sleeved shirts that I already owned and used that knowledge to help me figure out how to do the sleeves. I used the sleeves from the original shirt and cut it out so that I could still use the original hem. I laid my half-finished shirt over the sleeve (like above), and traced it, then added an inch or so to the bottom for the part of the sleeve that goes below your armpit (I know that’s not the best explanation). Once that was sewn, I sewed the sides together (keeping right sides together).

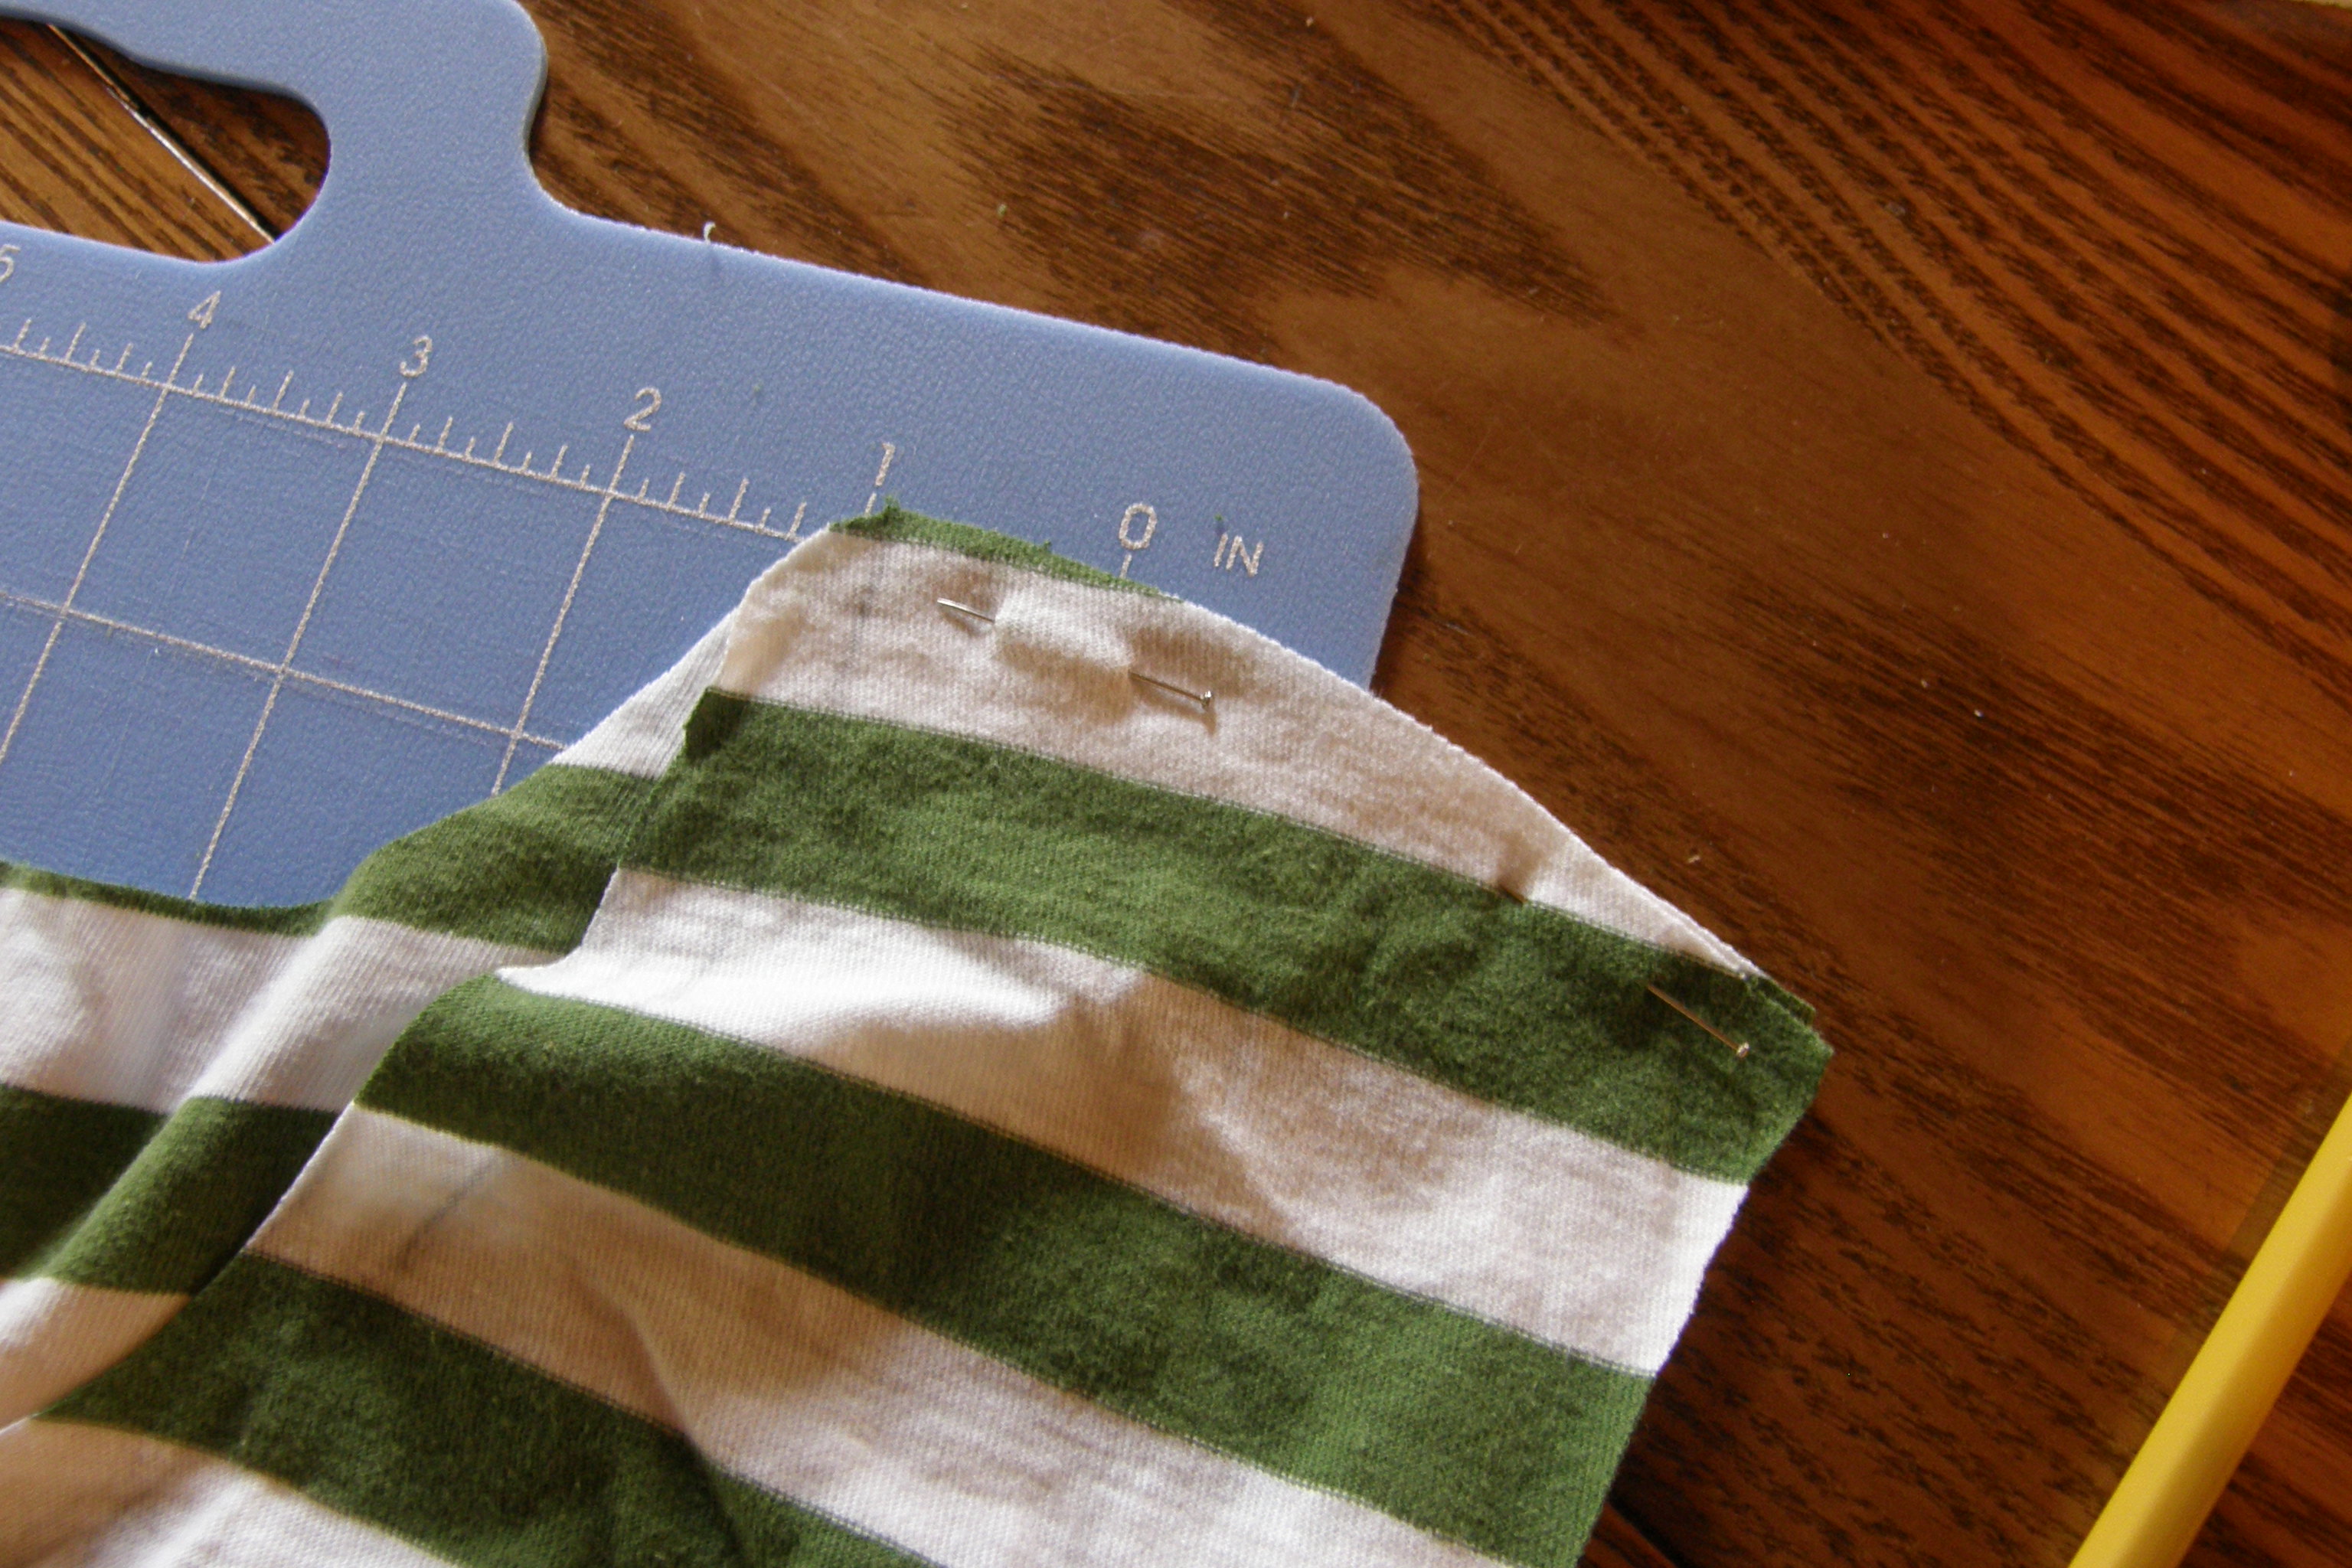
To finish the neck, I folded the fabric around the neck under 1/8″ and then again another 1/8″, then sewed along the edge. This allowed for a simple, clean finish.

Overall, I am really happy with how this shirt turned out. By keeping many of the original hems, I saved a bunch of time and energy, and the look is really simple and clean and nice. And because I used a shirt that fit me as a template, it also fits really well (although I wish I had given myself a bit more of a seam allowance on the sides. And, about a year after I made it, it’s also holding up really well.

I’m currently in the process of doing another refashion, so hopefully I can post about that soon (assuming everything turns out the way I’m hoping)!
